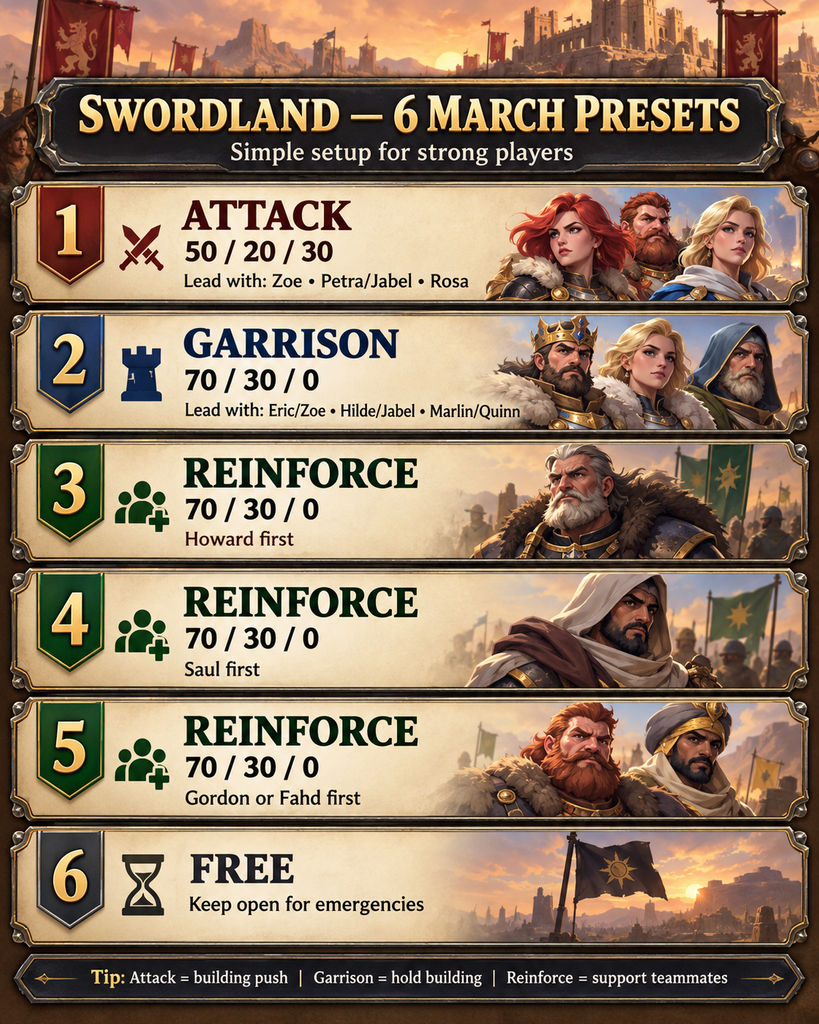
Our Swordland guide will include team organization, teleport strategy, building priorities, troop usage, communication, and the important art of not wandering away from your assigned group.
Important Buildings
- Stables // When we have this one, if reduces the time for free transport from 10 minutes to 5. Very important piece to have.
- Bell Tower // Reduces the time it takes for us to control a building from 3 minutes to 1 1/2 minute.
- Reformation // Increases combat power
- Sanctums // Continues Points
- Swordshrine // Continues Relic Points
Strategy 1 – Get the points, defensive play 🙂
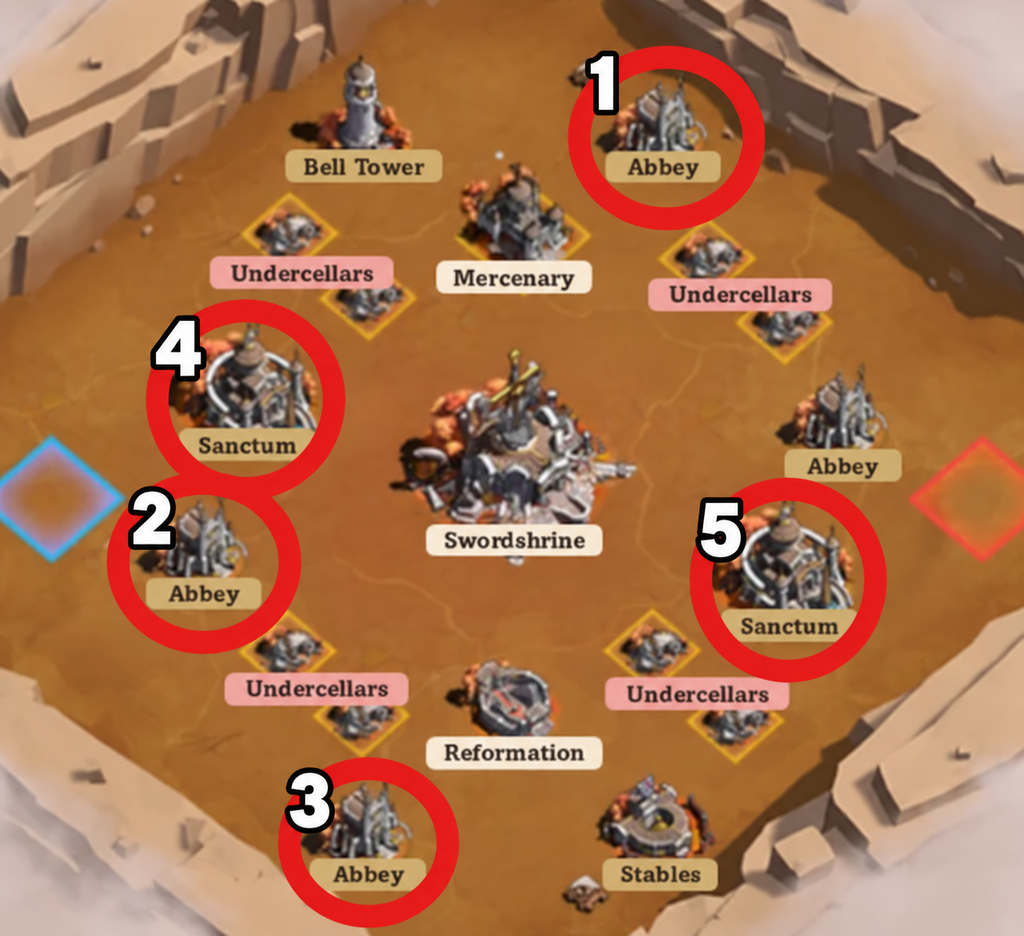
5 Teams, in total we take 3 Abbeys and 2 Sanctums.
- Each team will jump to their target, take it and hold it.
- If the target is already garrisoned by the opponent the team leader will start a rally, the team members of that team will join the rally.
- Every team member will reenforce 3 other team members. Stronger together!!
- Do not attack other castles, always use a rally if you have to! But we are playing defensively!! Let them attack and loose their troops
- If they are rallying against our castles, let them rally. When their rally is underway, simply jump a tile or two away so they’ve wasted their rally and time. After jumping, make sure you garrison the building again.
- When a building just cant be held because of to much power against us, the team leader will jump to another target, watch your chat! Team Leader should label the old target with ‘team 2 jumping out’, and label the new target ‘ team 2 target’.
- We will focus on the abbies and sanctums. When we cant hold them as a team, we will combine teams on sanctums first, and if we really have to on the abbies. ( sanctums give 2x the points ).
- If it looks like we are overwhelmed everywhere, we will to to Strategy 2 – scavenger tactics
Strategy 2 – Scavenger Tactics
- We only use this as a last resort
- As a team, team leader will label a target ‘team #2 jump and attack’
- Everybody attacks with all their troops until all the troops are injured. Do not heal. DO NOT HEAL DO NOT HEAL
- When completly out of troops, click on the scoreboard on top of your screen and select LEAVE BATTLEFIELD this will take you out the game for 12 minutes. After 12 minutes you can rejoin with all your troops healed for free.
- We will try to rally if possible. Team leaders will set a time for everybody to jump to new targets
- Oherwise individual attacks on enemy buildings with the largest accumulated relic bank. Attack, flip if possible, and immediately collect the dropped loot.
- We will repeat this non-stop until the game is over. This should give us enough points to max out our scores for the event. We might even be able to take the shrine in the center. Teamleaders will let you know!
Strategy 3 – We’re way stronger!
- If it looks we are the way stronger team out there, more people more power
- Instantly – Team 5 Will take Stables, this will shorten the free transporters to 5 minutes.
- At 15 minutes – Team 1 Will take Reformation, increases damage and health 15%
- At 15 minutes – Team 2 Will take Mercenary
- At 15 minutes – Team 3, 4 & 5 will take the Shrine!
Swordland Formations and Heroes